Jenkins Configure as a Code
After working extensively with Jenkins for various CI/CD tasks, I have come to appreciate the essential role automation plays in maintaining speed and stability throughout the entire software delivery process. Jenkins, though a veteran tool, still stands strong with its flexibility and power. With the Configuration as Code plugin, managing Jenkins becomes even more efficient-allowing you to define your entire configuration in YAML, making setups easy to replicate, track, and evolve.
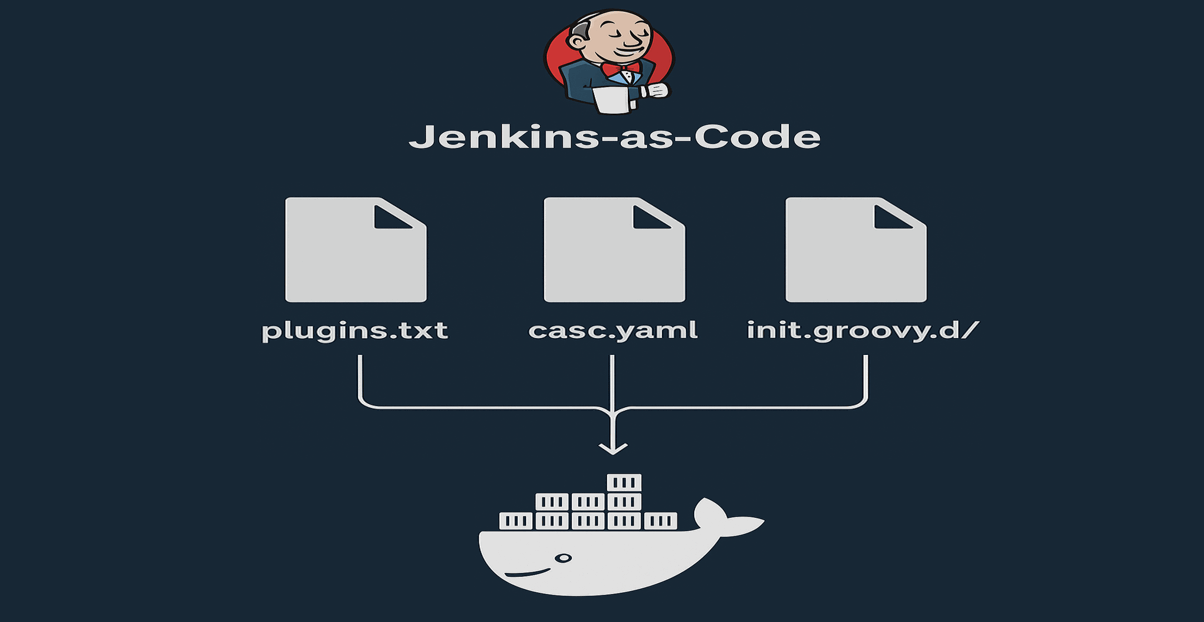
In this story, we will walk through deploying, configuring, and launching a Jenkins server using a version-controlled Git repository. Think of this as a DevOps recipe and heres the essential mix of ingredients:
- A Groovy Script to create a new admin user and define the authorization strategy.
- A plugins.txt file listing all the Jenkins plugins you want to install.
- A YAML Configuration file to define your Jenkins setup declaratively.
- A Dockerfile that builds on top of the official jenkins/jenkins:latest image.
- A Bash Script to build the Docker image and run the Jenkins container effortlessly.
Lets Start!
We are building a Docker image; therefore, please ensure Docker is installed on the host machine.
Create Jenkins User
A default user is required to create to access the Jenkins server securely. Create a file called basic-security.groovy under init.groovy.d folder (create init.groovy.d folder on the root of the repository). Add the below code in the basic-security.groovy file.
#!groovy

import jenkins.model.*
import hudson.security.*

def instance = Jenkins.getInstance()

// Create admin user
def hudsonRealm = new HudsonPrivateSecurityRealm(false)
hudsonRealm.createAccount("admin", "admin") // Password can be chnaged later in the Jenkins UI.
instance.setSecurityRealm(hudsonRealm)

// Authorization strategy: full access to admin
def strategy = new FullControlOnceLoggedInAuthorizationStrategy()
strategy.setAllowAnonymousRead(false)
instance.setAuthorizationStrategy(strategy)

instance.save()
The above code will create an admin user with the default admin password (of course password can be changed later) and set the default authorization strategy.
Plugins List
Create a plugins.txt file to add all the plugin names that you want to install on the Jenkins Server. The plugins version is optional. The Latest version will be installed if the version number is not configured. Below are my plugins, simply copy or alter the list as per your usage.
git
workflow-aggregator
pipeline-stage-view
blueocean
docker-workflow
credentials-binding
matrix-auth
ldap
role-strategy
ssh-slaves
nodelabelparameter
email-ext
gitlab-api
gitlab-oauth
scm-api
material-theme
configuration-as-code
job-dsl
simple-theme-plugin
A few of them are required as part of the process, such as configuration-as-code, job-dsl, workflow-aggregator, and auth-related plugins. Its recommended to install all.
Configuration As Code (CasC)
I use Jenkins Configuration as Code (JCasC) and job-DSL plugins to configure Jenkins. It provides the ability to define this whole configuration as a simple, human-friendly, plain text YAML syntax without any manual steps; this configuration can be validated and applied to a Jenkins controller in a fully reproducible way. A default configuration was carried out if you do not use this file.
jenkins:
    authorizationStrategy:
        loggedInUsersCanDoAnything:
        allowAnonymousRead: false

    globalNodeProperties:
    - envVars:
        env:
        - key: "EMAIL"
            value: "pchejara@live.com"
        - key: "GITHUB_SERVER"
            value: "github.com"
        - key: "GITHUB_USER"
            value: "nchejara"
    labelAtoms:
    - name: "built-in"
    - name: "jenkins_master"
    labelString: "jenkins_master"
    securityRealm:
        local:
        allowsSignup: false
        enableCaptcha: false
        users:
        - id: "admin"
            name: "admin"
    systemMessage: "<h1>Welcome to DevOps Learning Circle CI/CD System</h1>"
With the Job-DSL plugin, you can also add predefined jobs like shown below
# Sample job configuration
jobs:
- script: >
    pipelineJob("Sample-pipeline-job")
    definition {
        cps {
        script("""
            pipeline {
                agent any
                stages {
                    stage("Initialize") {
                        steps {echo "Preparing ..."}
                    }
                    ...
                }
                post {
                    success {echo "Pipeline execute successfully!"}
                    failure {echo "Pipeline execution failed!" }
                }
            }

        """)
        }
    }
Click on casc.yaml to get a full file.
Docker file
Dockerfile plays an important role in wrapping the above process into a Docker image, and the same image we will use to create a container to deploy the Jenkins server.
Here is what a Docker file looks like
ARG BASE_IMAGE=jenkins/jenkins:latest
FROM ${BASE_IMAGE}
# Install basic tools if required
USER jenkins
# Diable Setup Wizard dialog
ENV JAVA_OPTS="-Djenkins.install.runSetupWizard=false"
# Set CASC_JENKINS_CONFIG env variable
ENV CASC_JENKINS_CONFIG=/var/jenkins_home/casc.yaml
# Pre-install plugins
COPY plugins.txt /usr/share/jenkins/ref/plugins.txt
RUN jenkins-plugin-cli --plugin-file /usr/share/jenkins/ref/plugins.txt
# Copy the init Groovy scripts to ref; these scripts run one by one when a container is launched first time
COPY --chown=jenkins:jenkins init.groovy.d/ /usr/share/jenkins/ref/init.groovy.d/
# Copy JCasC configuration to /var/jenkins_home
COPY  --chown=jenkins:jenkins casc.yaml /var/jenkins_home/casc.yaml
# Pre-create Jobs, config, etc. (optional)
# COPY -chown=jenkins:jenkins  jobs /usr/share/jenkins/ref/jobs
# Expose the default Jenkins port
EXPOSE 8080
Lets understand the Dockerfile step by step.
Add an argument to pass the base image name when building Docker image.
ARG BASE_IMAGE=jenkins/jenkins:latest
FROM ${BASE_IMAGE}
Create a "jenkins" user and set the environment for the container
USER jenkins
# Diable Setup Wizard dialog
ENV JAVA_OPTS="-Djenkins.install.runSetupWizard=false"
# Set CASC_JENKINS_CONFIG env variable
ENV CASC_JENKINS_CONFIG=/var/jenkins_home/casc.yaml
Copy the plugins.txt file and install plugins from the file using the jenkins-plugin-cli command. jenkins-plugin-cli is used to install the plugin.
# Pre-install plugins
COPY plugins.txt /usr/share/jenkins/ref/plugins.txt
RUN jenkins-plugin-cli --plugin-file /usr/share/jenkins/ref/plugins.txt
Copy init.groovy.d folder, all scripts in the folder will execute when a container is first launched
# Copy the init Groovy scripts to ref; these scripts run one by one when a container is launched first time
COPY --chown=jenkins:jenkins init.groovy.d/ /usr/share/jenkins/ref/init.groovy.d/
Finally, copy casc.yaml file and note that we already defined the path of the casc.yaml in the environment variable.
# Copy JCasC configuration to /var/jenkins_home
COPY  --chown=jenkins:jenkins casc.yaml /var/jenkins_home/casc.yaml
Bash Script
Lets create a bash script for automatic build and launch a container from the new Docker image.
    #!/bin/bash
    set -e # exit immediately if any command fails
    BASE_IMAGE=jenkins/jenkins:latest
    IMAGE_NAME=jenkins-server
    TAG=latest
    CONTAINER_NAME=Jenkins-server
    # Set real permission for plugins.txt, casc.yaml, and init.groovy.d
    sudo chmod +r plugins.txt casc.yaml
    sudo chmod +r init.groovy.d
    # Build Jenkins server Docker image
    docker build -t $IMAGE_NAME:$TAG --build-arg BASE_IMAGE=$BASE_IMAGE .
    # Create a directory, option -p ensures no error if the directory already exists
    mkdir -p /jenkins
    sudo chmod +rw /jenkins
    # Stop and remove the container if it exists
    if [ "$(docker ps -a -q -f name=^/${CONTAINER_NAME}$)" ]; then
        echo "Stopping and removing existing container: $CONTAINER_NAME"
        docker stop $CONTAINER_NAME
        docker rm $CONTAINER_NAME
    fi
    # Launch a Jenkins server
    docker run -itd -p 8080:8080 --name Jenkins-server -v /jenkins:/var/jenkins_home $IMAGE_NAME:$TAG
Congratulations! You are now familiar with the Jenkins configuration as a code process. Fork or clone jenkins-as-code repository to get the full code.